-
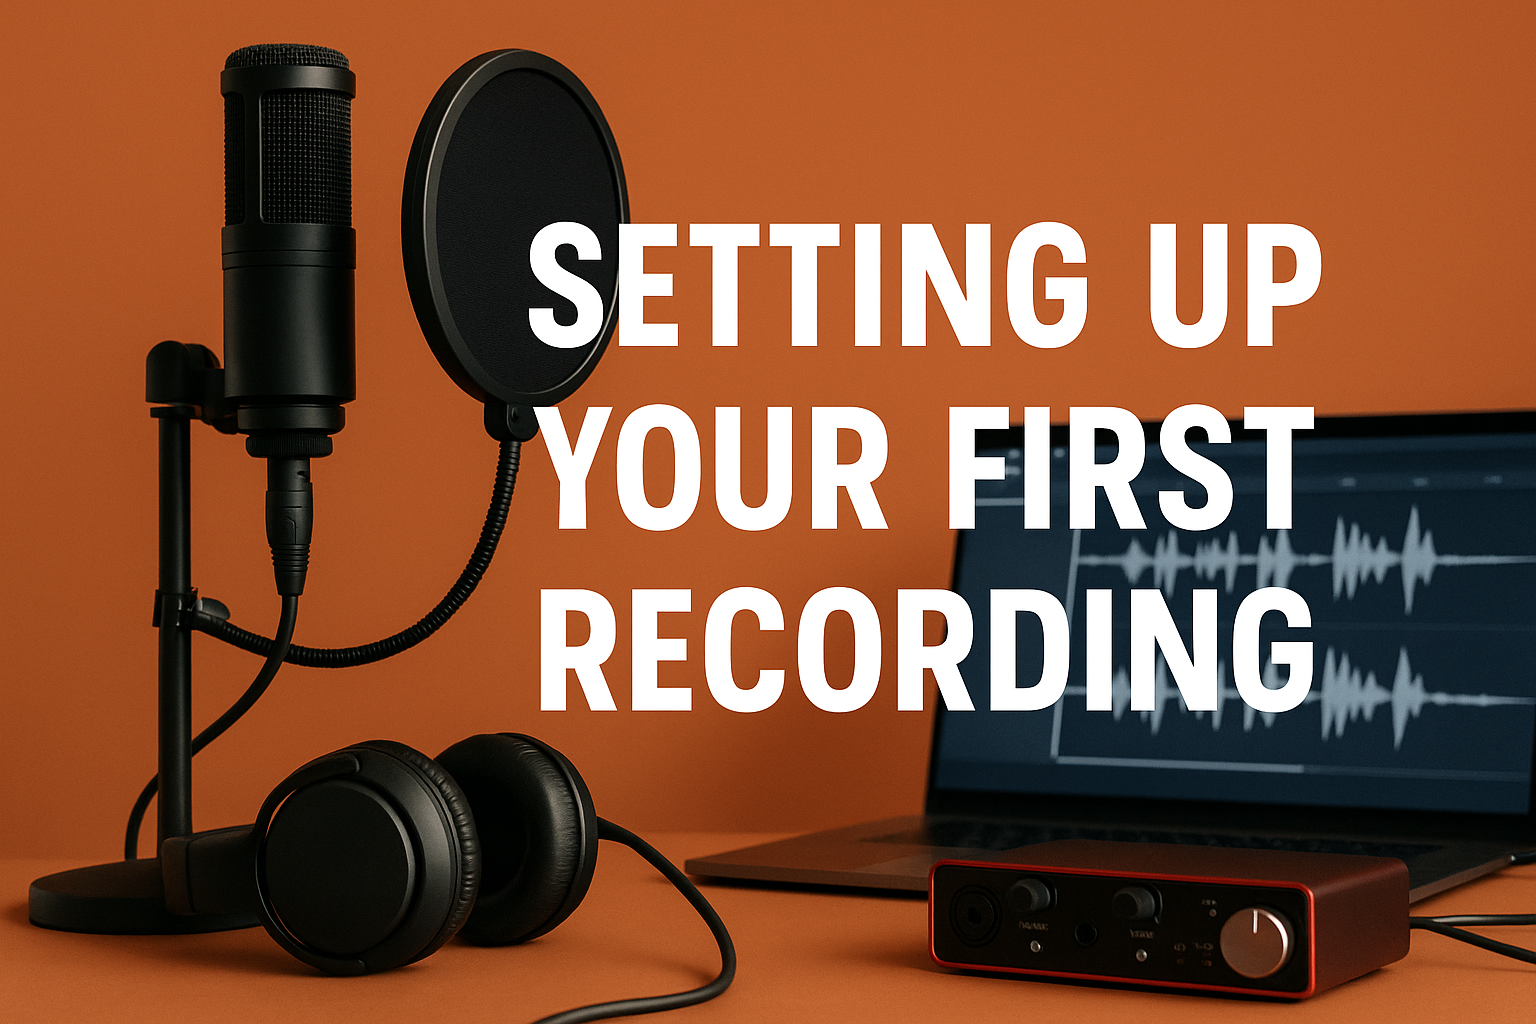
Ready to record your first song or podcast? Follow these simple steps and equipment tips:
-
Prepare Your Space: Choose a quiet corner or room. To reduce echo, add some soft materials (blankets, curtains) if needed. Noise can ruin takes, so turn off fans/AC or record in off-hours.
-
Position Your Microphone: Set up a mic stand and mount your microphone (use the shock-mount if included). For singing or speaking, keep the mic about an inch below your mouth, angled slightly. If recording guitars or instruments, point the mic at the sound hole or soundboard. Always talk/sing towards the front of the mic – that’s the side with the company logo or label.
-
Use a Pop Filter: Clip a pop filter a few inches in front of a vocal mic. This mesh screen softens plosives (pops from “p” and “b” sounds). It also protects the mic from breath and moisture.
-
Connect to Your Audio Interface: Plug the mic into the interface with an XLR cable. Set the interface’s gain knob (input level) low. Speak or play at recording volume, and gently raise the gain until your loudest sound peaks around -12 dB on the meters. This prevents clipping.
-
Open Your DAW: Launch your digital audio workstation. Create a new project and add a track for recording. Select the correct input (e.g. “Input 1”) and make sure the track is armed/ready. Check that the interface is recognized by the software.
-
Check Monitoring: Put on studio headphones to hear playback. When recording, use closed-back headphones if possible, so the mic doesn’t pick up playback (no bleed). Many interfaces let you monitor with near-zero latency. Do a quick test: speak or play and see if you hear yourself clearly through the headphones.
-
Record a Test Take: Record a few seconds to test levels and distance. Ensure the sound isn’t clipping (peaking in red) and there’s no distortion. Adjust the mic distance or gain if needed.
-
Record Your Performance: When all is set, press Record and perform. It’s okay if you need multiple takes – many beginners do. Keep a consistent distance from the mic and maintain steady levels. For vocals, don’t lean too close at high notes to avoid overload.
-
Listen and Adjust: After recording, listen back carefully. Do you hear any room noise or hiss? You might use light compression or an EQ to tame unwanted frequencies. For major issues (like constant noise), it’s easier to fix them now by re-recording in a quieter setup than later in editing.
-
Save and Backup: Once you have a good take, save the project! Backup your files or export a WAV. This ensures you don’t lose your work and can revisit it for mixing later.
Tip: A USB mic (all-in-one) can simplify setup if you’re just starting. It plugs directly into your computer, but remember it usually can’t match the fidelity of a proper mic-plus-interface setup.
By following these steps, you’ll have a basic recording ready to edit and mix. For more tutorials, check out our How-To guides on editing vocals and adding effects. Happy recording, and keep creating!
-
Similar Posts
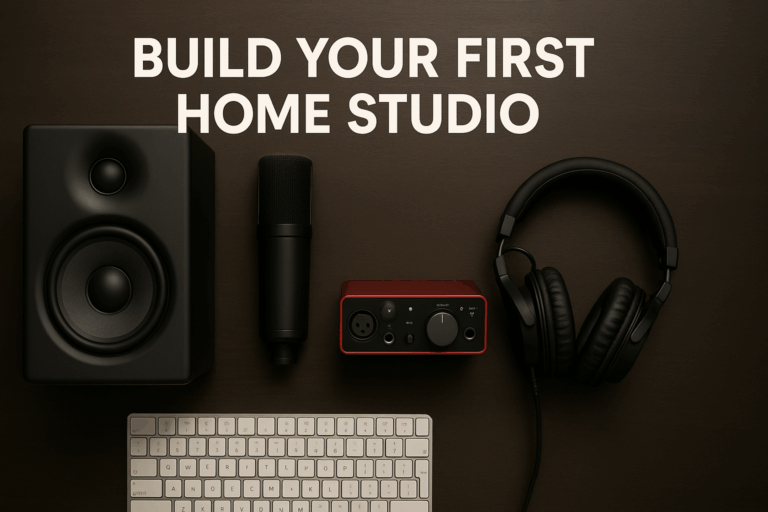
Building Your First Home Studio Gear Guide
Starting your own home studio can feel daunting, but with the right guidance you’ll pick the gear that works for you. First, remember that software is key: the DAW (Digital Audio Workstation) is the centrepiece of your workflow. It lets you record, edit, and mix on your computer. Pick a DAW you find easy to use and…